I've been holding this project for a long time, and yesterday I'm feeling creative, so I decided to make this (finally!) boxes with rolled-up magazines. I saw the item at Urban Outfitters a long time ago (like the pic below) and I've seen some video tutorials on you tube and I wanted to try it, but haven't got the time.
 |
| ~ Urban Outfitter's Rolled Up Magazine Rack ~ |
Luckily, I got a lot of free time yesterday and went for it! It's bit tedious, but I'm happy with the outcome! Here's what you'll need:
- Empty Cereal Boxes (or any sturdy old boxes you have)
- Old Magazines
- Cutting Mat (or do it on glass table or use anything that can protect the surface when you're cutting)
- Roller Cutter (or box cutter or scissors - whatever you have available)
- Glue
- Glue Gun and Glue sticks


1) Measure the box that you want to make and cut your cereal box based on your measurements. Glue them together using the Glue Gun. Here I measured: 9" x 4" x 2":

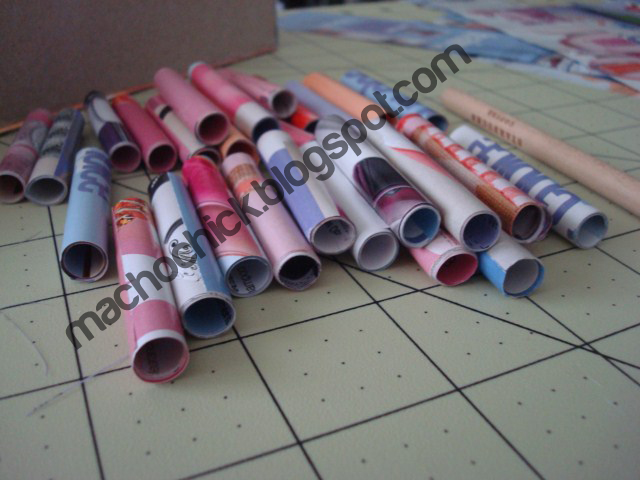
2) Cut out magazine strips vertically. Measure the sides of your box and that should will be the width of your strips, don't worry about the length as you're going to roll it up. Here I made 2" width based on the sides of my box.


6) Make several pieces. As you can see here, all my rolled-up strips have colors in them. I chose the pages where it has colors in the end so it'll look nicer. Also, make sure you have enough strips to cover the whole sides of the box.


I can now use it to organize my sewing materials.


I also made a smaller one to put my pins in. This time, I designed it with color gradation.

Hope you enjoy my tutorial and let me know if you made something similar too!
Thanks for reading!
No comments:
Post a Comment